Face the problem
Bad displays lose attention fast. If your storefront or lobby uses a led poster display, every visual glitch is a lost impression. You need clear priorities, repeatable checks, and a no-excuses approach to catch failures before they go live.
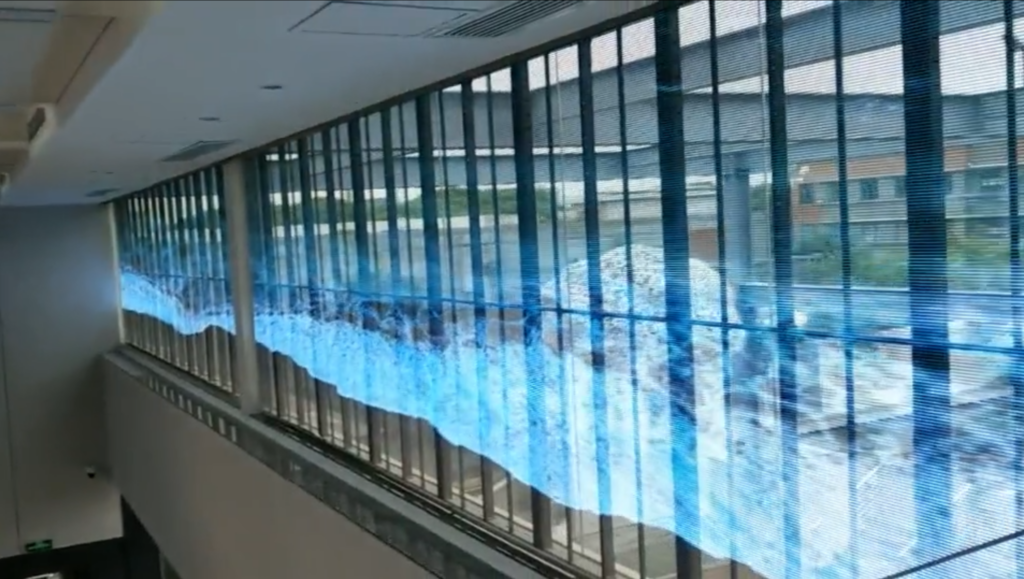
What matters most — priority checklist
Start with measurable, high-impact checks. Brightness and uniformity across the panel. Color accuracy and consistency after calibration. Dead pixel and line-fault mapping. Refresh rate and flicker under real ambient lighting. Power-supply stability and surge response. Thermal behavior under continuous load. Connectivity under typical network conditions. If those pass, the rest falls into place.
Visual and color tests — practical steps
Use calibrated instruments: a colorimeter for delta-E, a luminance meter for nits, and patterned files to reveal banding or mura. Run full-black and full-white frames for at least 72 hours to detect early burn-in tendencies. Check viewing-angle shifts with grayscale ramps. Note: lessons from CES 2024 showed many demo units with convincing peak brightness but poor midtone uniformity; field demonstrations at that event exposed how easily a led poster display screen can look inconsistent off-axis, so validate across angles, not just head-on.
Electrical, thermal and reliability tests
Measure power draw at idle and at peak. Apply brownout and surge conditions to observe recovery. Run thermal cycling: heat to operational max, cool to low ambient, repeat. Monitor LED driver temperatures and junction temps to predict lifespan. Execute an accelerated life burn-in for 500–2,000 hours depending on service expectations.

Mechanical and environmental checks
Confirm mounting tolerances, fastening torque, and access for maintenance. Verify IP and condensation mitigation if installed near doors or skylights. Shake and vibration tests for transit-installed units. Inspect gasketing and connector strain reliefs. Simulate rain and dust exposure where relevant.
Software, firmware and network validation
Test firmware update rollback, content scheduler accuracy, and failover playback. Validate content encoding across resolutions and color spaces. Check latency and sync across multiple units. Force unexpected reboots during playback to see how the system recovers. Log errors centrally and audit logs to catch intermittent faults.
Common pitfalls teams miss
Skipping sustained burn-in. Accepting factory calibration without verification. Ignoring EMI/grounding checks near heavy machinery. Using test patterns only at center screen and assuming the edges match. Overlooking ambient-reflection measurements for glossy bezels. Not stress-testing under power-unstable conditions common at many venues.
Operational checklist and acceptance criteria
Define pass/fail numbers up front: luminance variance ≤10% across panel, delta-E ≤3 after calibration, zero critical pixel defects per ISO standard tolerance, stable power recovery within 5 seconds, and continuous operation for the defined burn-in window without thermal excursion. Train installers to run a standardized acceptance script and sign off with logged evidence.
Wrap-up — short, action-driven conclusion
Treat QC like a training regimen: short drills, heavy reps, measurable progress. Test what the user sees and what the system endures. Keep records. Demand reproducible results. That rigorous posture aligns with practical deployments and manufacturer validation programs from experienced suppliers such as HDC, delivering fewer surprises and displays that keep performing.