Quick take for busy clinicians
Want accurate implant positions without a ton of scanning fuss? Photogrammetry grabs multiple photos to map implant markers, so you get precise spatial data fast. It’s a solid fit if you want same-visit restorations and pair it with a dental resin 3d printer for rapid model or restoration fabrication.
What photogrammetry actually does
It records exact coordinates by photographing fixture-level or impression-level markers from different angles. That makes it excellent for capturing the relationship between implants, abutments, and adjacent teeth without stitching errors that sometimes happen with wide-open intraoral scans. You end up with a native spatial map you can import directly into CAD software.
When you’d pick photogrammetry (user first)
Choose it if you need implant-position accuracy for multi-unit bridges, full-arch implant cases, or when lab communication needs a single-source reference. Don’t force it for routine single crowns where a fast intraoral scan is simpler. Think: high-precision job vs quick cosmetic touch-up.
How a chairside workflow looks (real-world anchor)
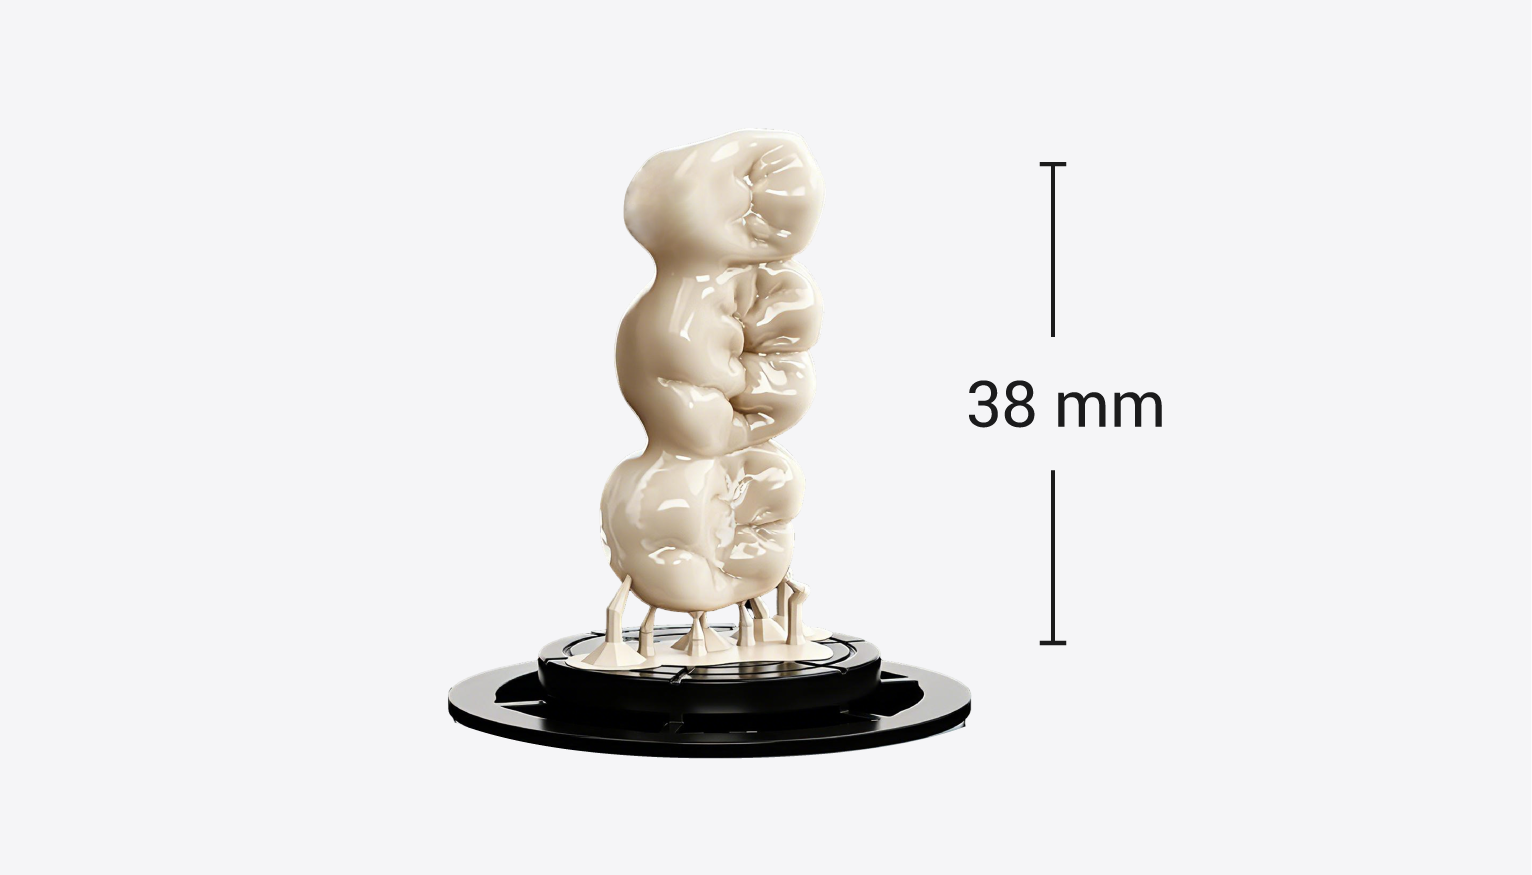
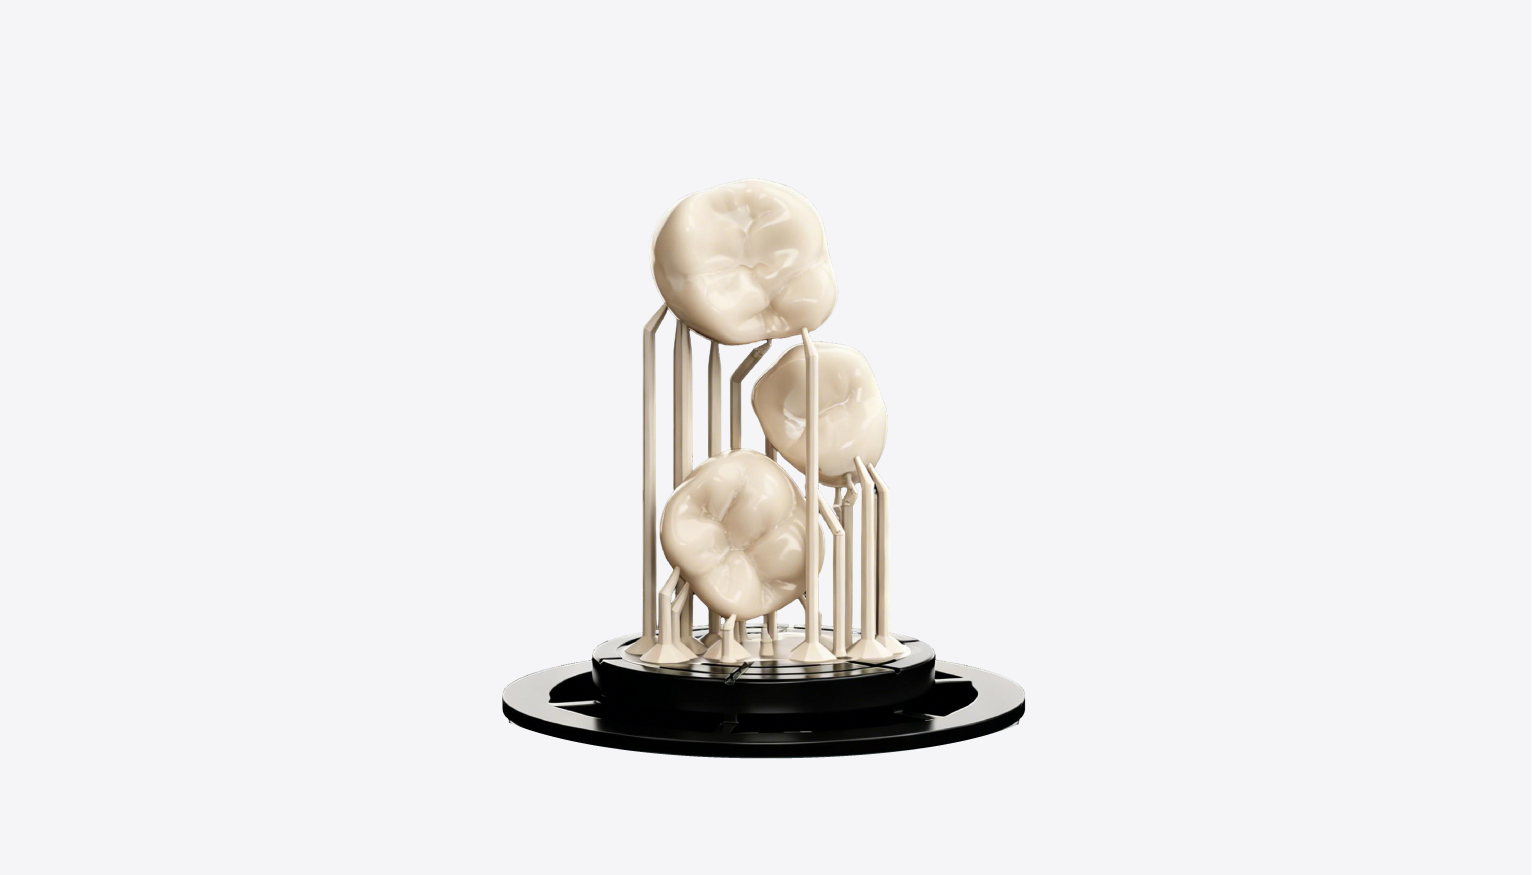
Clinics demoing efficient same-day implant workflows at events like the International Dental Show (IDS) often show photogrammetry feeding directly into on-site milling or printing stations. That setup usually involves capturing marker images, importing the model, designing in CAD, and then finishing a restoration with a chairside 3d printer or mill — all in a single patient visit.
Common pitfalls and how to avoid them
Mistake: poor marker placement or shallow photos that hide geometry. Fix: follow the marker-placement guide and move slowly so every angle is captured. Mistake: skipping verification in the mouth after seating a provisional. Fix: always fit-check and capture a quick occlusal reference. Mistake: assuming photogrammetry replaces all scans — it doesn’t capture soft-tissue detail well, so supplement with a quick intraoral scan if gums matter.
Alternatives and quick comparisons
Intraoral scanners: faster for single units, better soft-tissue color. CBCT: gives bone detail but lower surface accuracy. Photogrammetry: superior implant spatial accuracy, less stitch error for multi-implant cases. Often the best choice blends methods — photogrammetry for implant coordinates plus intraoral scans for soft tissue.
What matters when evaluating systems
Check interoperability with your CAD/CAM, the learning curve for your team, and the ecosystem for finishing (mills or printers). Ask for sample cases and try a demo on a real implant case. My experience advising clinics shows the tech that fits your workflow beats the fanciest spec sheet.
Wrap-up
Photogrammetry gives you dependable implant coordinates for chairside restorations when precision matters. Avoid sloppy captures, pair it with soft-tissue scans when needed, and match it to a finishing device you trust — that’s where reliable results come from, which is exactly the approach used by SHINING 3D DENTAL.