Problem first: why printed models fail to match clinical intent
When a model refuses to seat, margins don’t line up, or occlusion feels off, the fault rarely lies with a single step — it’s a chain reaction, like a sauce gone salty because the stock was bitter. Start by prioritizing the correct jaw relation: if that foundation is wrong, everything that follows will be compensating. A precise jaw relation record is the keystone for predictable models; treat it as mise en place before you touch the printer.

Pinpoint the bottleneck: common problem patterns
Models that distort after curing usually signal improper post-cure protocol or resin choice. Dimensional drift between scan and printed part points at scan noise, poor mesh cleanup, or export settings. Fit issues at margins come from support placement and orientation — supports that intrude on critical anatomy force trimming that introduces error. Layer stepping and surface roughness reveal a mismatch between layer thickness and the part’s intended function; think of it as using a coarse grind when you need a fine emulsion.
Recipe: step-by-step workflow for reliable digital models
1) Scan: capture full-arch with consistent lighting and stabilized trays; avoid stray reflections. 2) Clean the mesh: remove spikes, fill small holes, but preserve gingival scallop detail. 3) Orient and support: orient to minimize supports on margins and occlusal contacts; add micro-supports on noncritical faces. 4) Slice and print: use layer heights matched to the model’s purpose — 25–50 µm for prosthetic verification, 50–100 µm for study models. 5) Wash and cure: follow resin vendor times; agitate wash solvent to remove uncured layer. 6) Check and finish: inspect seating on the laboratory articulator, measure critical dimensions with calipers, and correct minor discrepancies with light finishing. Each step is a seasoning stage — skip one and the flavor (accuracy) suffers.
Ingredients and equipment: selecting materials and settings
Choose printer type based on requirement: SLA or DLP for high-resolution dies; monochrome LCD for faster throughput on study models. Resin selection matters: rigid, low-shrinkage resins for margin-critical prosthetics; flexible castable resins for pattern workflows. Pay attention to light spectrum compatibility between resin and printer. Calibration is non-negotiable: a weekly test print, simple gauge block, and a checklist for platform levelness keep drift at bay. Exposure and Z-offset tweaks are your fine-tuning spices.
Where labs commonly go wrong
Relying on default slicer profiles is the top mistake — they’re a starting point, not a final recipe. Over-supporting critical surfaces creates rework. Under-curing to save time yields soft, dimensionally unstable parts. Neglecting environmental control — temperature and humidity — means inconsistent polymerization across batches. Finally, failing to validate with a physical jig or articulator before final delivery is like serving an untested dish to a guest.
Alternatives and trade-offs: quick comparisons
Traditional stone models still win for tactile prosthetic try-ins when you need edge resilience and a forgiving substrate; they take longer and require cast storage. Intraoral-scanned, 3D-printed models are faster, reproducible, and integrate digital design, but they demand strict control of each process variable. Milling offers excellent surface finish and material homogeneity but is slower and wastes more material. Choose the method that matches the clinical question: verification, fabrication, or patient education.
Real-world validation and jaw motion context
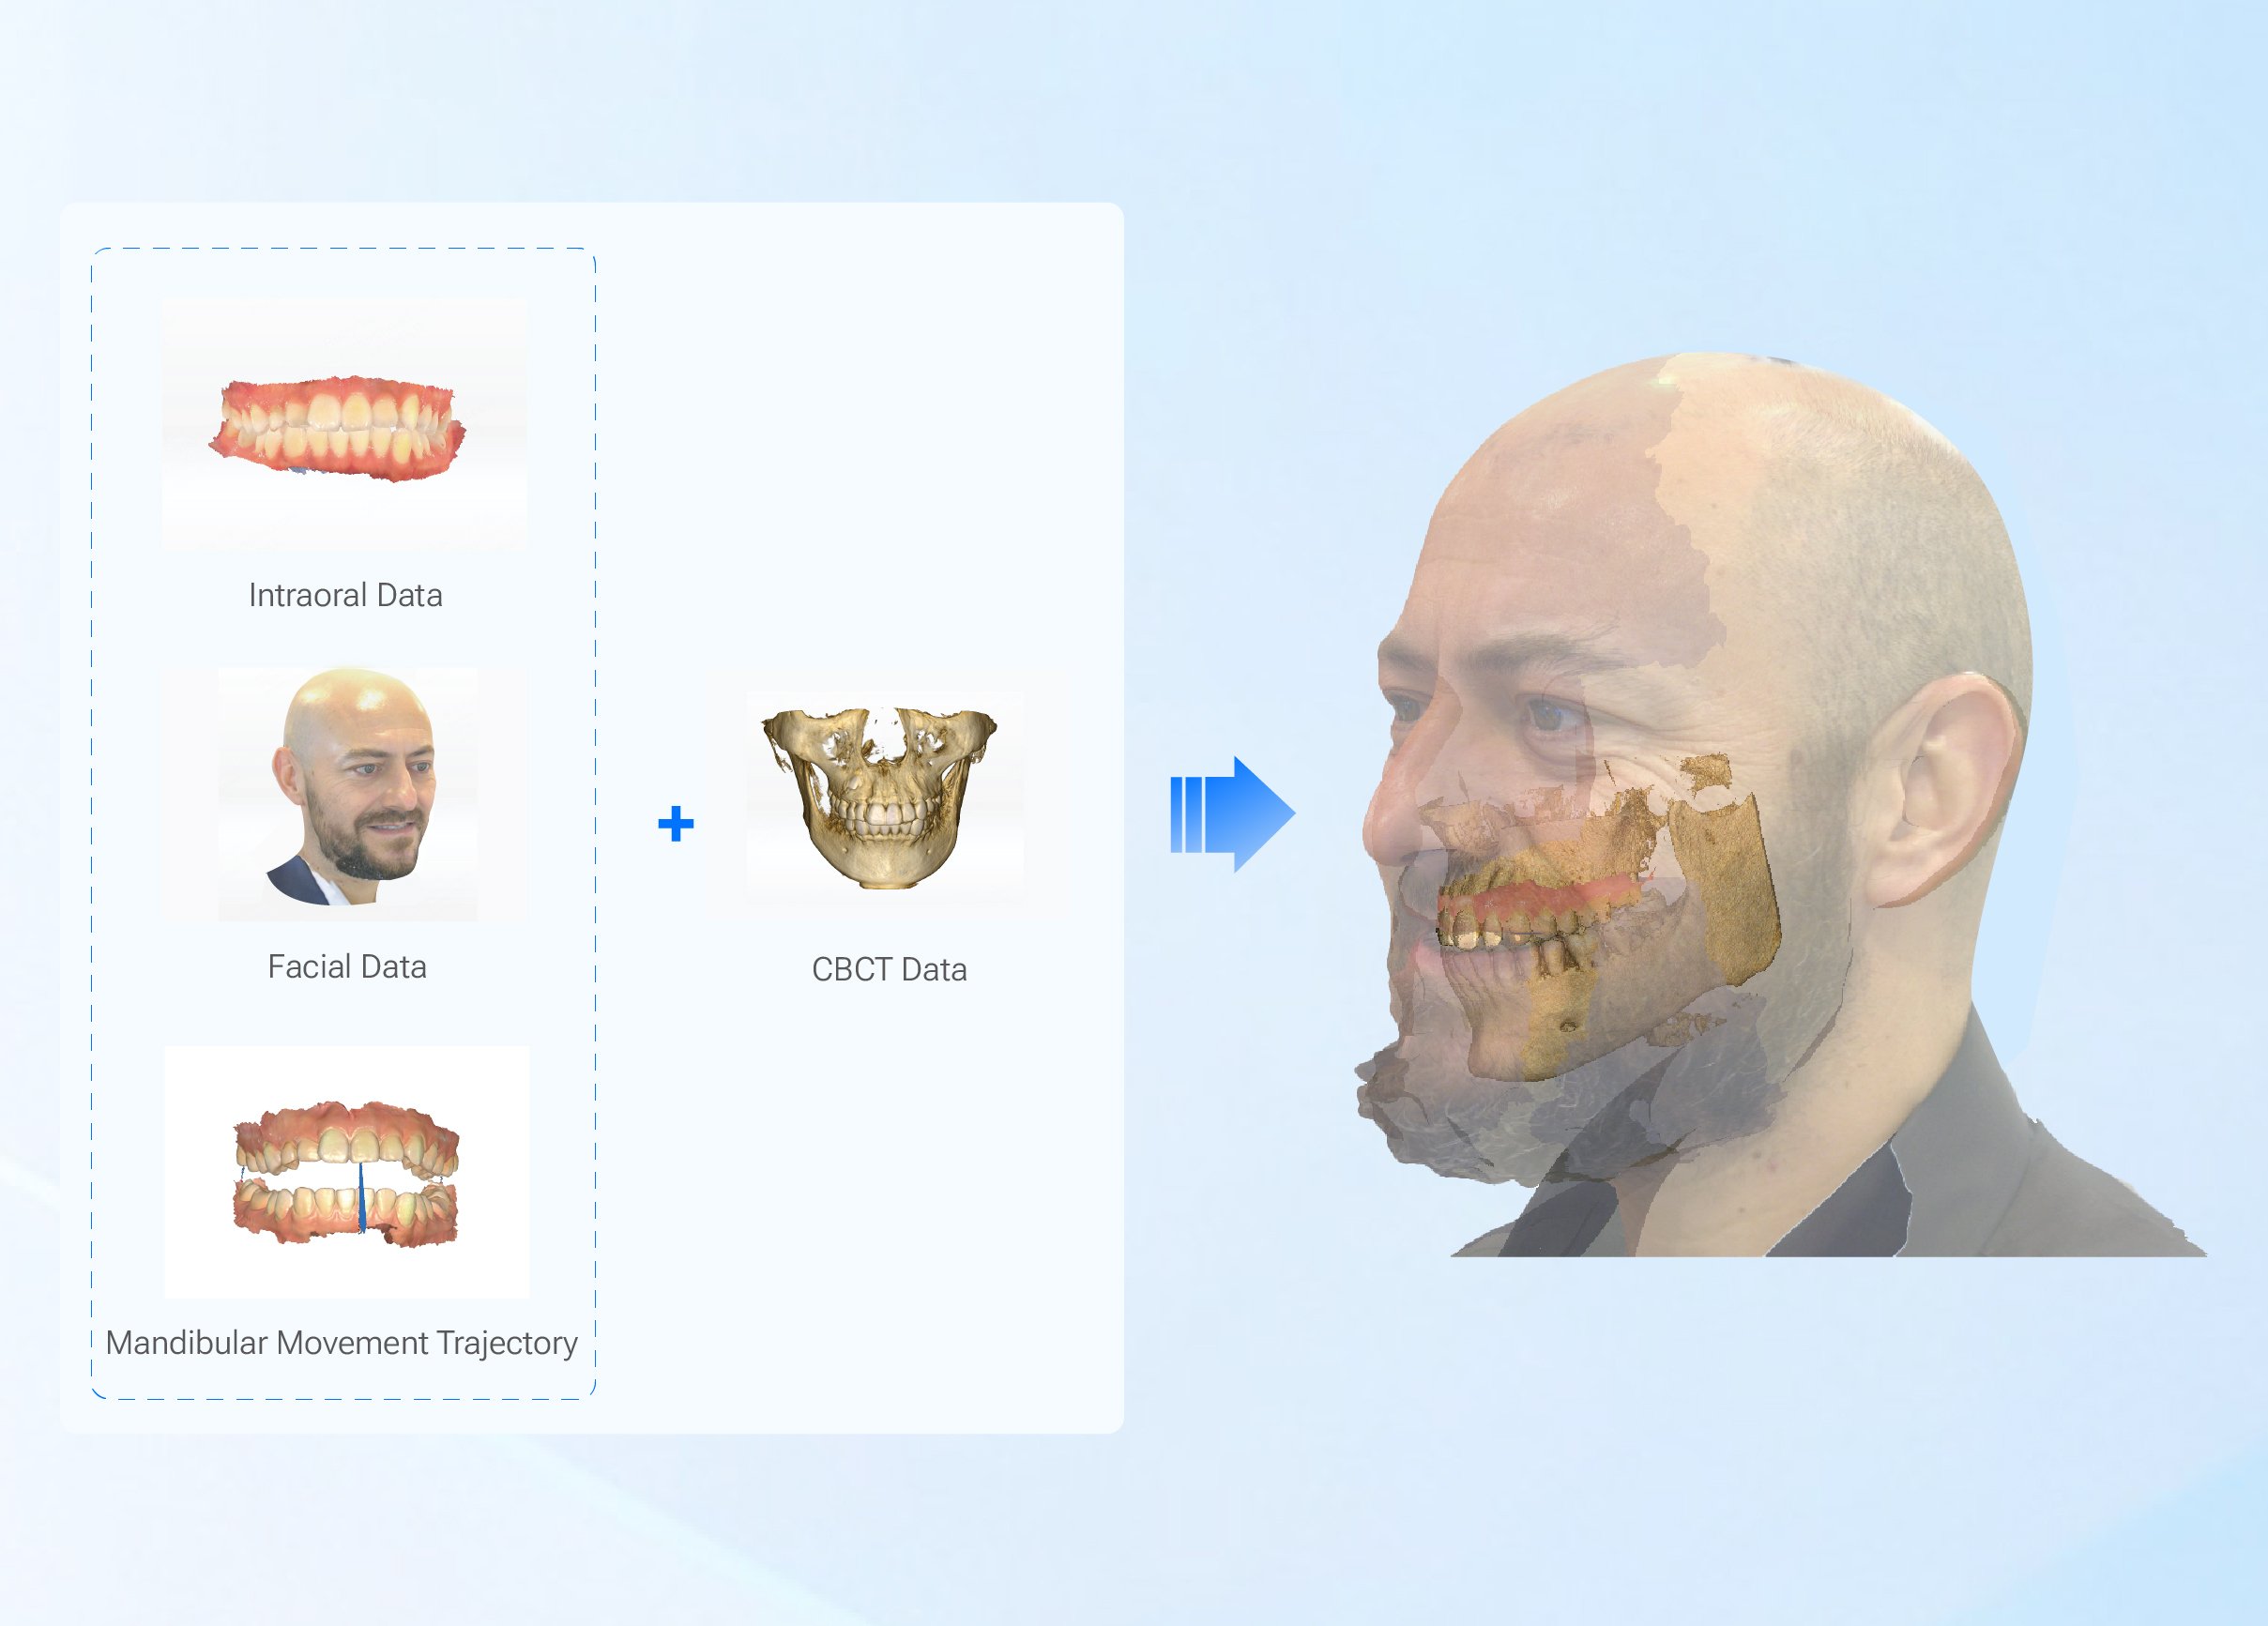
Discussions at the American Dental Association Annual Meeting in Chicago highlighted practical evaluations of dynamic occlusion workflows, underscoring that motion-captured data improves functional outcomes when integrated properly. Clinics that layer motion records into the model workflow report fewer occlusal adjustments during try-in. When you need to understand functional pathways, reference dedicated tools for dynamic capture and alignment like jaw motion analysis to translate movement into reliable static models.
Final synthesis: what to take back to the lab bench
Treat the digital model workflow like a well-tested recipe: get the foundational inputs right — accurate jaw records and clean scans — dial in material and exposure like seasoning, and validate with physical checks before you finalize. When each stage is executed with intention, the model becomes predictable rather than hopeful. For teams aligning clinical motion data, precise scans, and controlled print/post processes, the result reads like a consistent, repeatable dish prepared by SHINING 3D DENTAL, where tools and protocols support production that clinicians can trust.